I’m pretty good about looking at the docs for nodes I use in Maya, because often there’s hidden functionality or switches that make nodes behave completely differently, and these things are often not apparent. A good example is on the extendCurve node– there’s a “join” attribute that’s completely hidden, but I found that setting it to zero was the difference between having a useful node and not.
A few weeks ago I discovered, much to my embarrassment, that I had not done my homework on aimConstraints. It turns out that the aimConstraint node’s up vector type can be set to “none”, which converts the aimConstraint into a quaternion-slerp-based orienter. This means that whatever you’ve picked will still aim at the target, but it won’t twist on the aim axis relative to the parent transform.
This is a lot like the SingleChainIK solver, but it has one important benefit: Not being an IK solver. IK solvers / handles in Maya have some very strange and esoteric bugs that don’t show themselves in every situation or even on every show, but when they hit, they hit hard. The more I use Maya, the more I find that skipping an IK handle wherever possible is the Right Thing.
The SingleChain solver is extremely useful for a variety of setups, but one problem I’ve encountered is that the handle itself doesn’t like to be scaled. I had some rigs where if the character were scaled below 0.5 or above 2.0, Maya would freeze for a few seconds and the SC solver would be broken once that number was passed. I fixed the issue by moving the IK handle into a group outside the hierarchy and pointConstraining it to the IK goal object, but the extra work bugged me. With an up-vectorless aimConstraint, I can remove a few extra transforms.
Another interesting node is that the RPSolver behaves exactly the same as both the SCSolver and the up-vectorless aimConstraint if its poleVector attribute is set to (0,0,0), and the solver is operating on a single bone chain. Not sure what use this is, but it’s in there.
How about an example use?
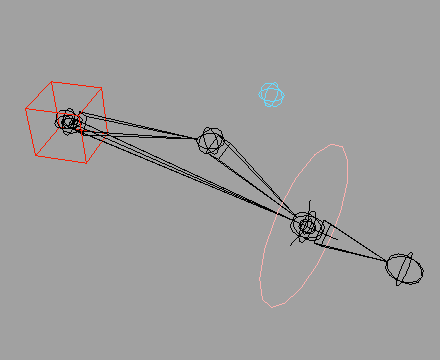
( download example .ma )
Adding an SCsolver chain from the shoulder to the wrist (aimed at the wrist control), then using it to move the pole vector around, can often be a very good way to extend the reach of a character’s IK arms without forcing the animator to constantly move the pole vector control. Give it a go– you’ll see what I mean. This setup doesn’t work on legs, depending on the animator, but for arms it’s not bad and with space switching you can still have the standard pole vector placement behind the chest if so desired.
